„Soloing“ a dream – Nepal and the Annapurna Circuit trek
Unlike the other posts, the one about my Nepal journey I need to try to write in English. And it is not because my language skills have improved during the 3 weeks that I spent with people from all over the world. On the contrary – I must have learned and practiced more French and Spanish:)
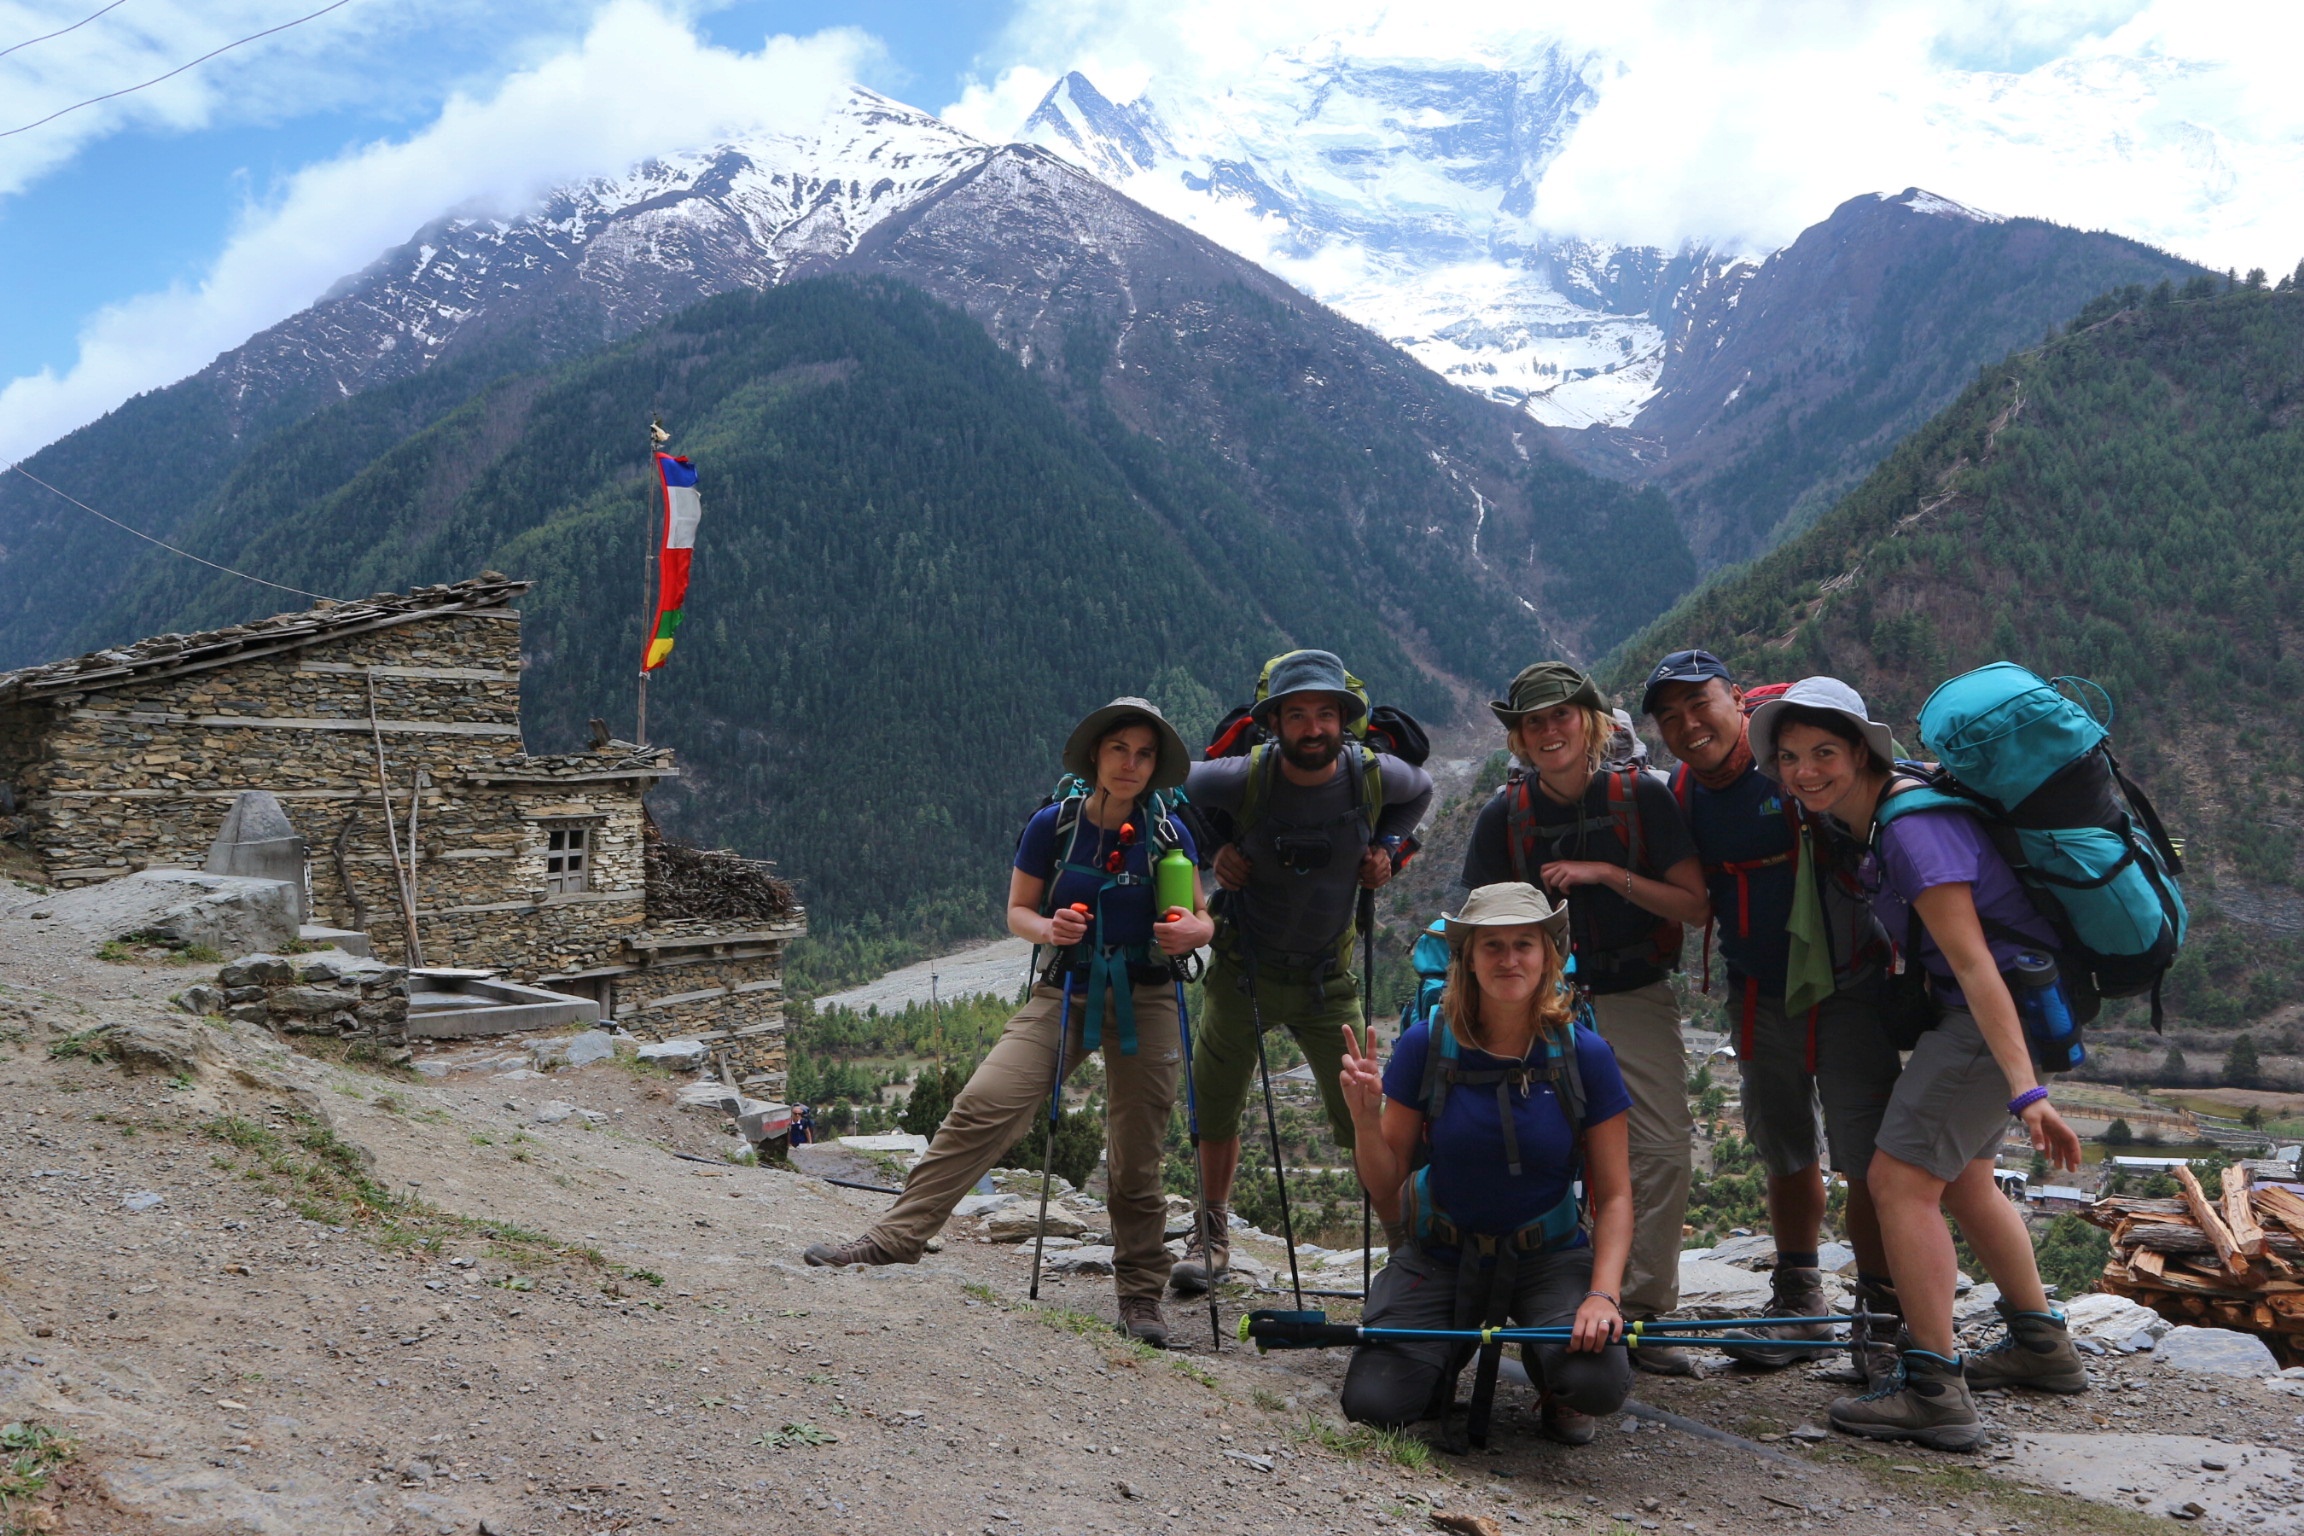
But still, without English it would be impossible to meet, talk with and become friends with all these amazing people.
So why Nepal and why Annapurna trek?
First it had to be the Himalayas. And „Annapurna“ means for me great challenge, courage, inhuman achievement, team spirit, adventure, selflessness but also over-ambition, blind determination and even madness.
Yes, I read biographies of famous alpinists and Maurice Herzog’s book about the very first ascent of 8th thousanders.
I know, of course, that my trip is in no way to be compared to the huge achievement done in 1950 by Herzog, Lachenal, Terray, Rebuffat and the rest of the team.
But as it is written in that book: “there are other Annapurnas in the lives of men“ and to go on my first solo-trip was my „Annapurna“ 🙂
Where and how?
My journey started with a flight from Sofia through Doha to Kathmandu. Then I took a bus to Besisahar, where I started the trek.
After 215km walking and 43km on a very extreme bus ride (from Jomson to Tatopani) I managed to circle the Annapurna region and end my trek in Phedi, which is at the outskirts of Pokhara, only 18km away. To go back to Kathmandu I took a tourist bus (supposedly faster than a local one, but still needed more than 9 hours for a distance of 200km). The benefit is at least that it stops in Thamel, the tourist neighborhood of Kathmandu, where I wanted to stay.
In Kathmandu you can do most of the sightseeing on foot but taking taxi is also not expensive. There is also a public transport options to reach Bakhtapur and Patan, but as I wanted to do both in one day, I took a taxi and then walked back from Patan to Thamel.
Annapurna Circuit Trek, Nepal
Annapurna Region is one of the most popular trekking destinations in Nepal, maybe the second after Everest region. And as with every popular place – it gets commercialized and crowded, but still its popularity is well deserved. The scenery, villages, views, routes and even the people are so diverse in this region. Both short and long treks are easy to organize and could either start or finish close to Pokhara – the perfect place to rest after a trek, just chilling alongside the lake.
Annapurna Conservation Area is Nepal’s largest protected area covering 7,629 km2 (2,946 sq mi) in the Annapurna range of the Himalayas across the Manang, Mustang, Kaski, Myagdi, and Lamjung districts. The area ranges in altitude from 790 m to the peak of Annapurna I at 8,091 m. It is home to over 100,000 residents of different cultural and linguistic groups. The conservation area is managed by NTNC ( National Trust for Nature Conservation).
As I have planned to spent 3 weeks in Nepal, I wanted to choose a longer trek, hoping that it would be less crowded and would allow me to get to know the people in the himal better. I have already targeted Annapurna region, so the choice was between the Annapurna Circuit and Annapurna Base Camp Trek (ABC). You can find many articles comparing both treks and here is an example.
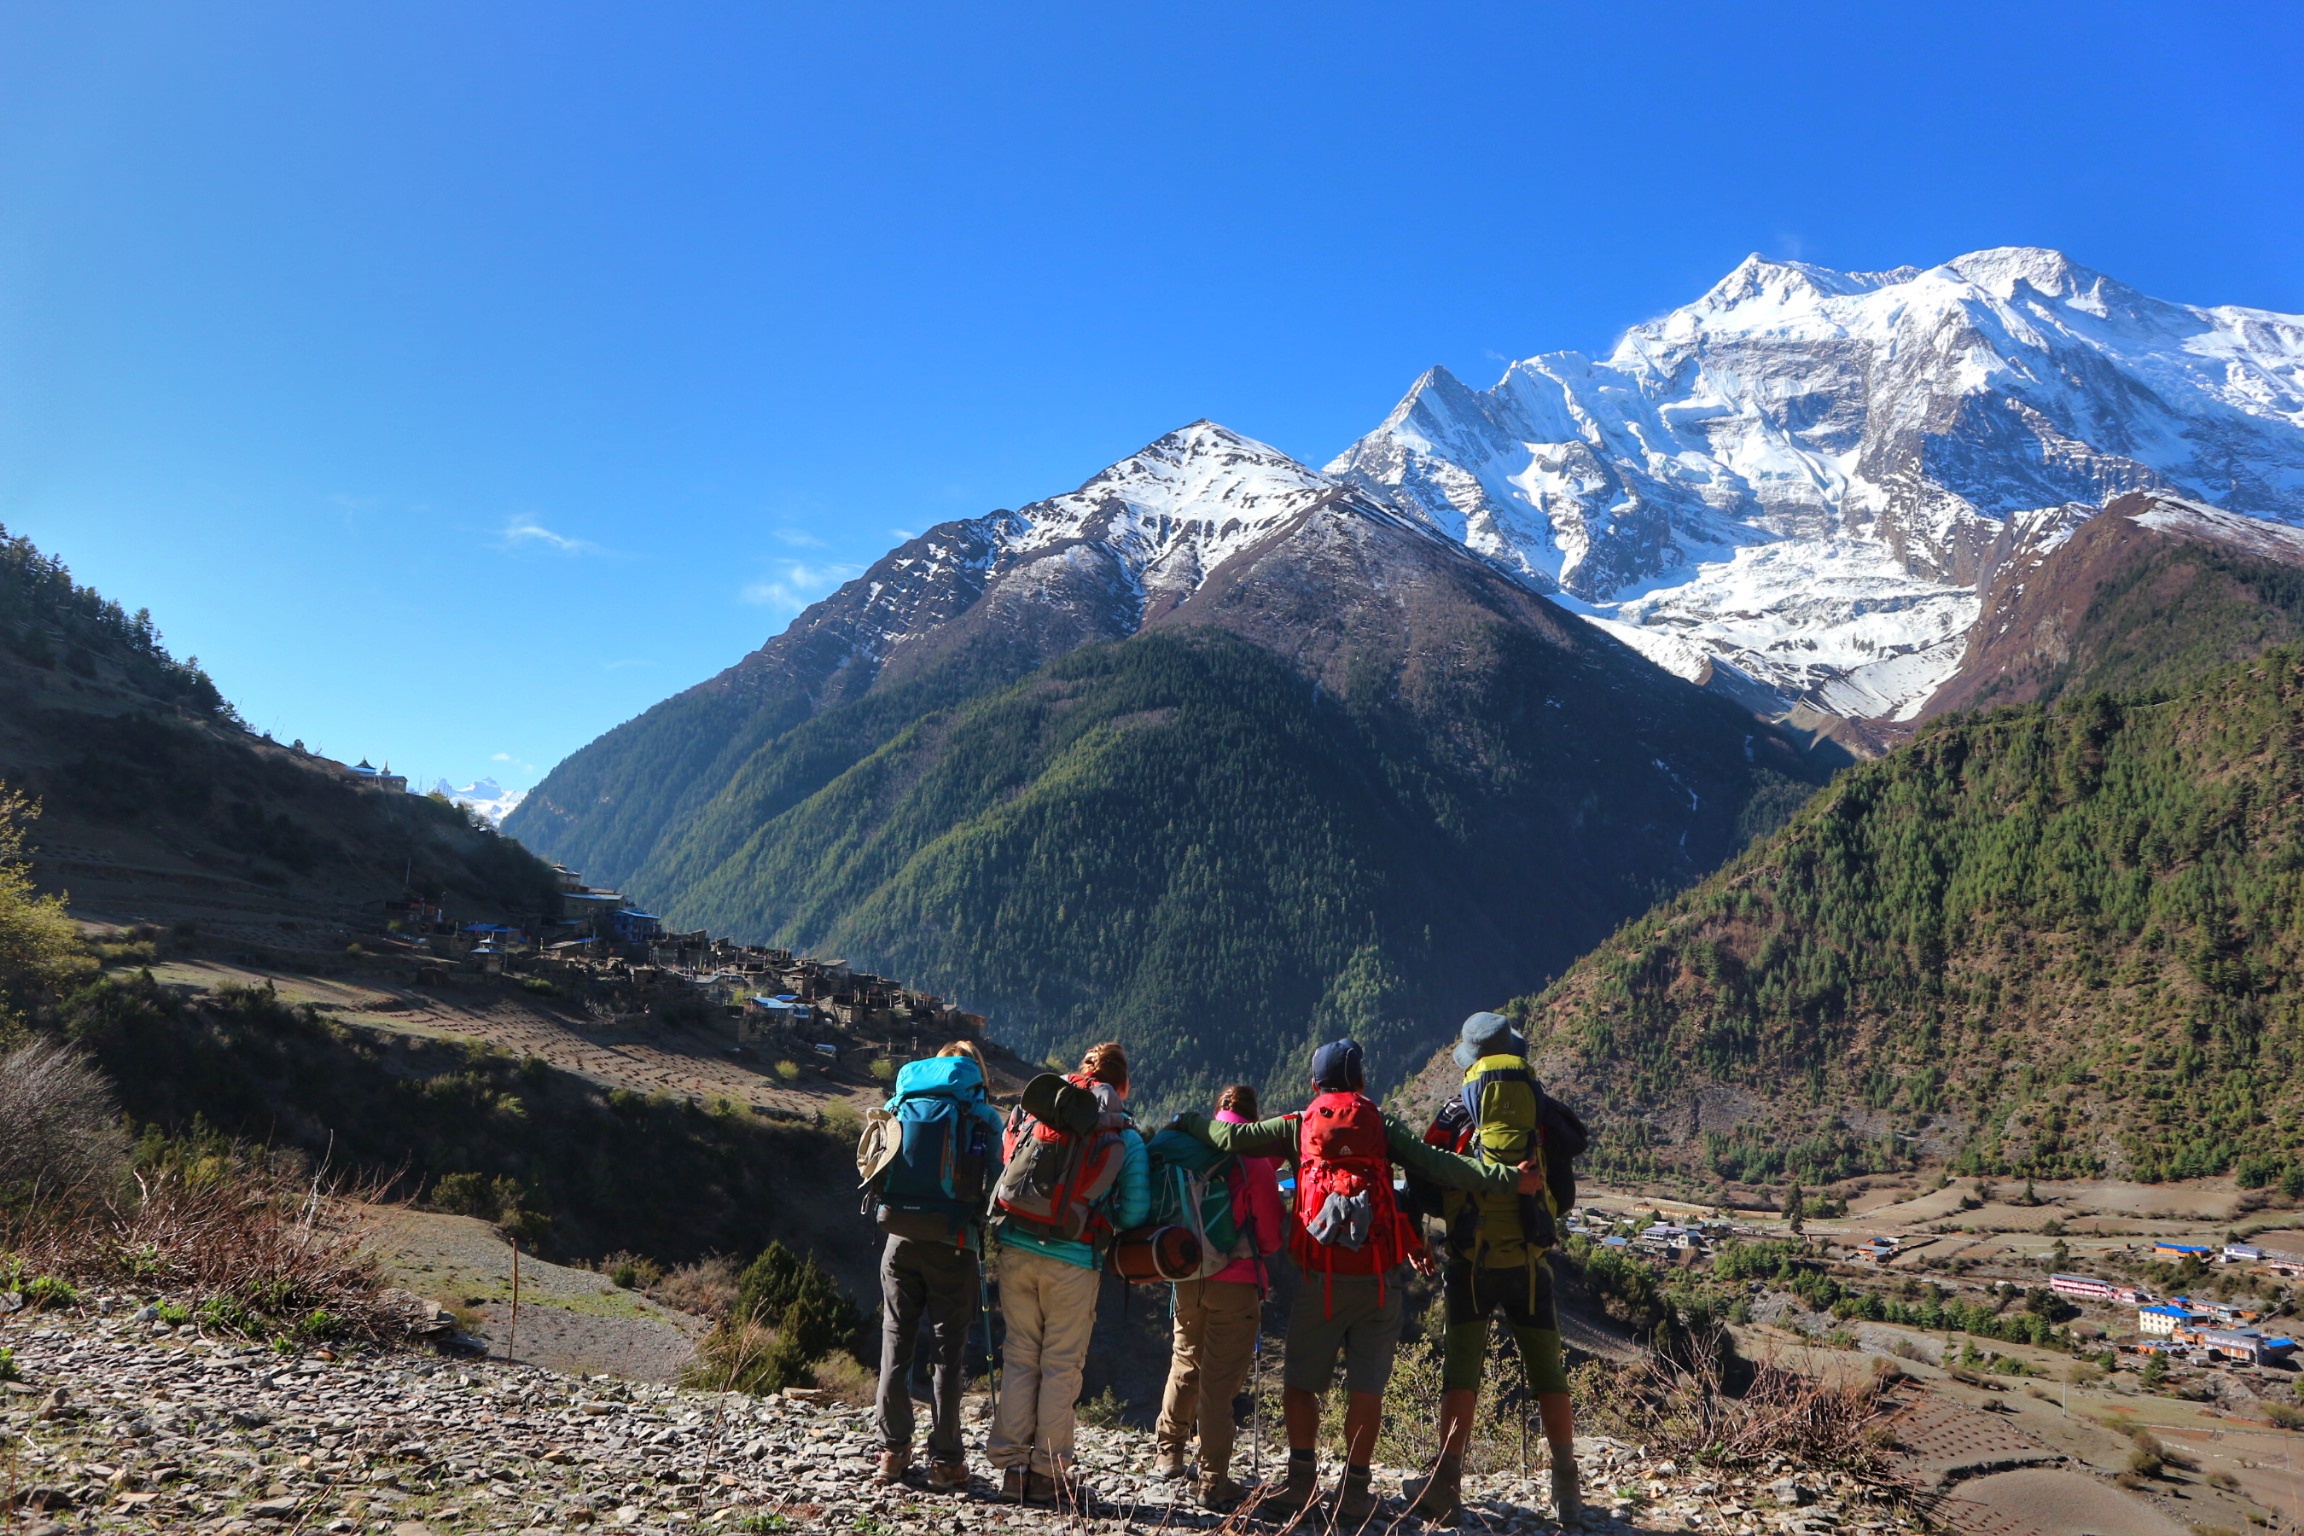
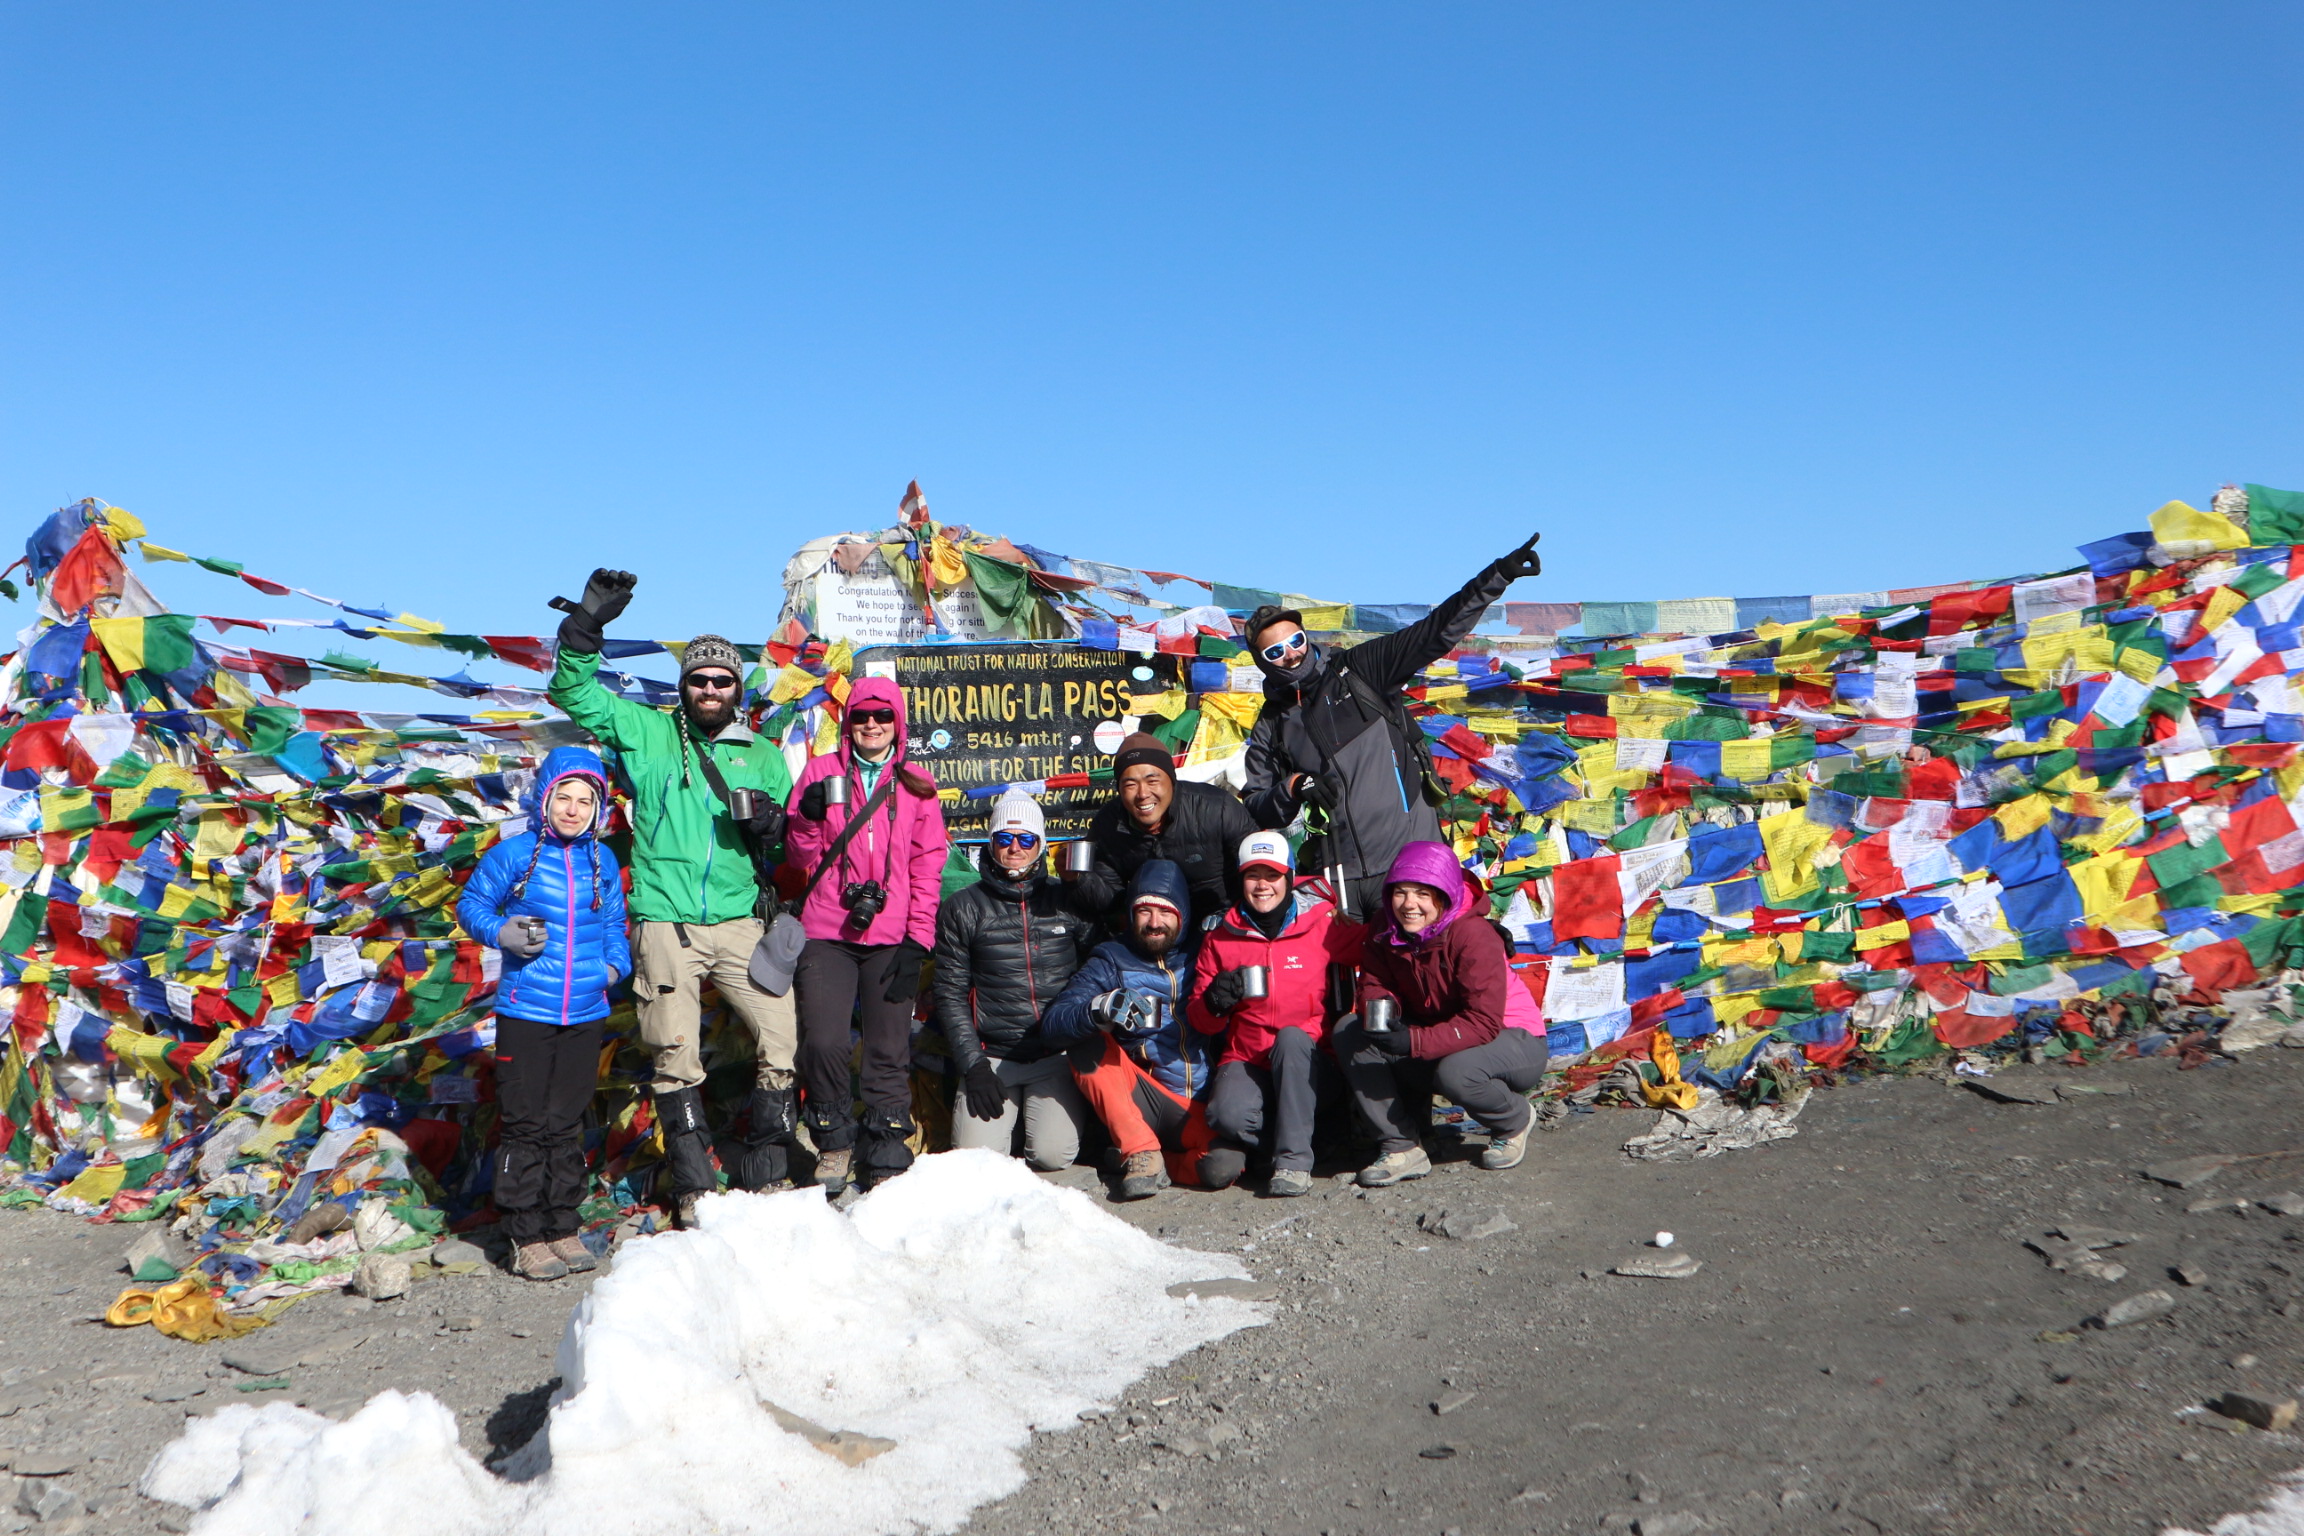
Annapurna Circuit trek proved to be exactly what I was searching for: comparatively long trek with great diversity, allowing independent treks as logging is provided everywhere, challenging with the altitude of the Thorong Pass (5,400m) and rewording with the mountain views, beautiful villages, colorful temples and adorable people on the way. You are overwhelmed by all these warm and friendly smiles on the faces of both locals and tourists, which only confirm the great synergy between nature, religion and traditions.
I was also able to get a glimpse of the ABC trek on my way back as I was walking down on a section of that route. The larger number of people there might be due to the proximity to Pokhara and the opportunities for day trips and short treks. The route allows you to see the first 7 and 8-thousand meter peaks already on your first day, whereas I needed to walk for 3 days until I first saw Annapurna II and Manaslu. But it was a long anticipated and well deserved view 🙂
So here is how I did the trek day by day.
Map
How long and how much?
I spent 22 days in Nepal, 18 of which in the mountains. If you are planning to do the Annapurna Circuit trek then I would also recommend to reserve yourself about 3 weeks. This way you can do some side trips such as Tilicho Lake or Poon Hill, which I strongly recommend. Or you would just have some buffer time for acclimatization or more flexibility if you meet nice people that you want to travel with 🙂
If pressed by the time, then you can rush the first sections or take buses/jeeps where available. This could shorten the period to even less than 10 days. But then why have you chosen this trek at first place. Better do a shorter trek and take your time to enjoy it.
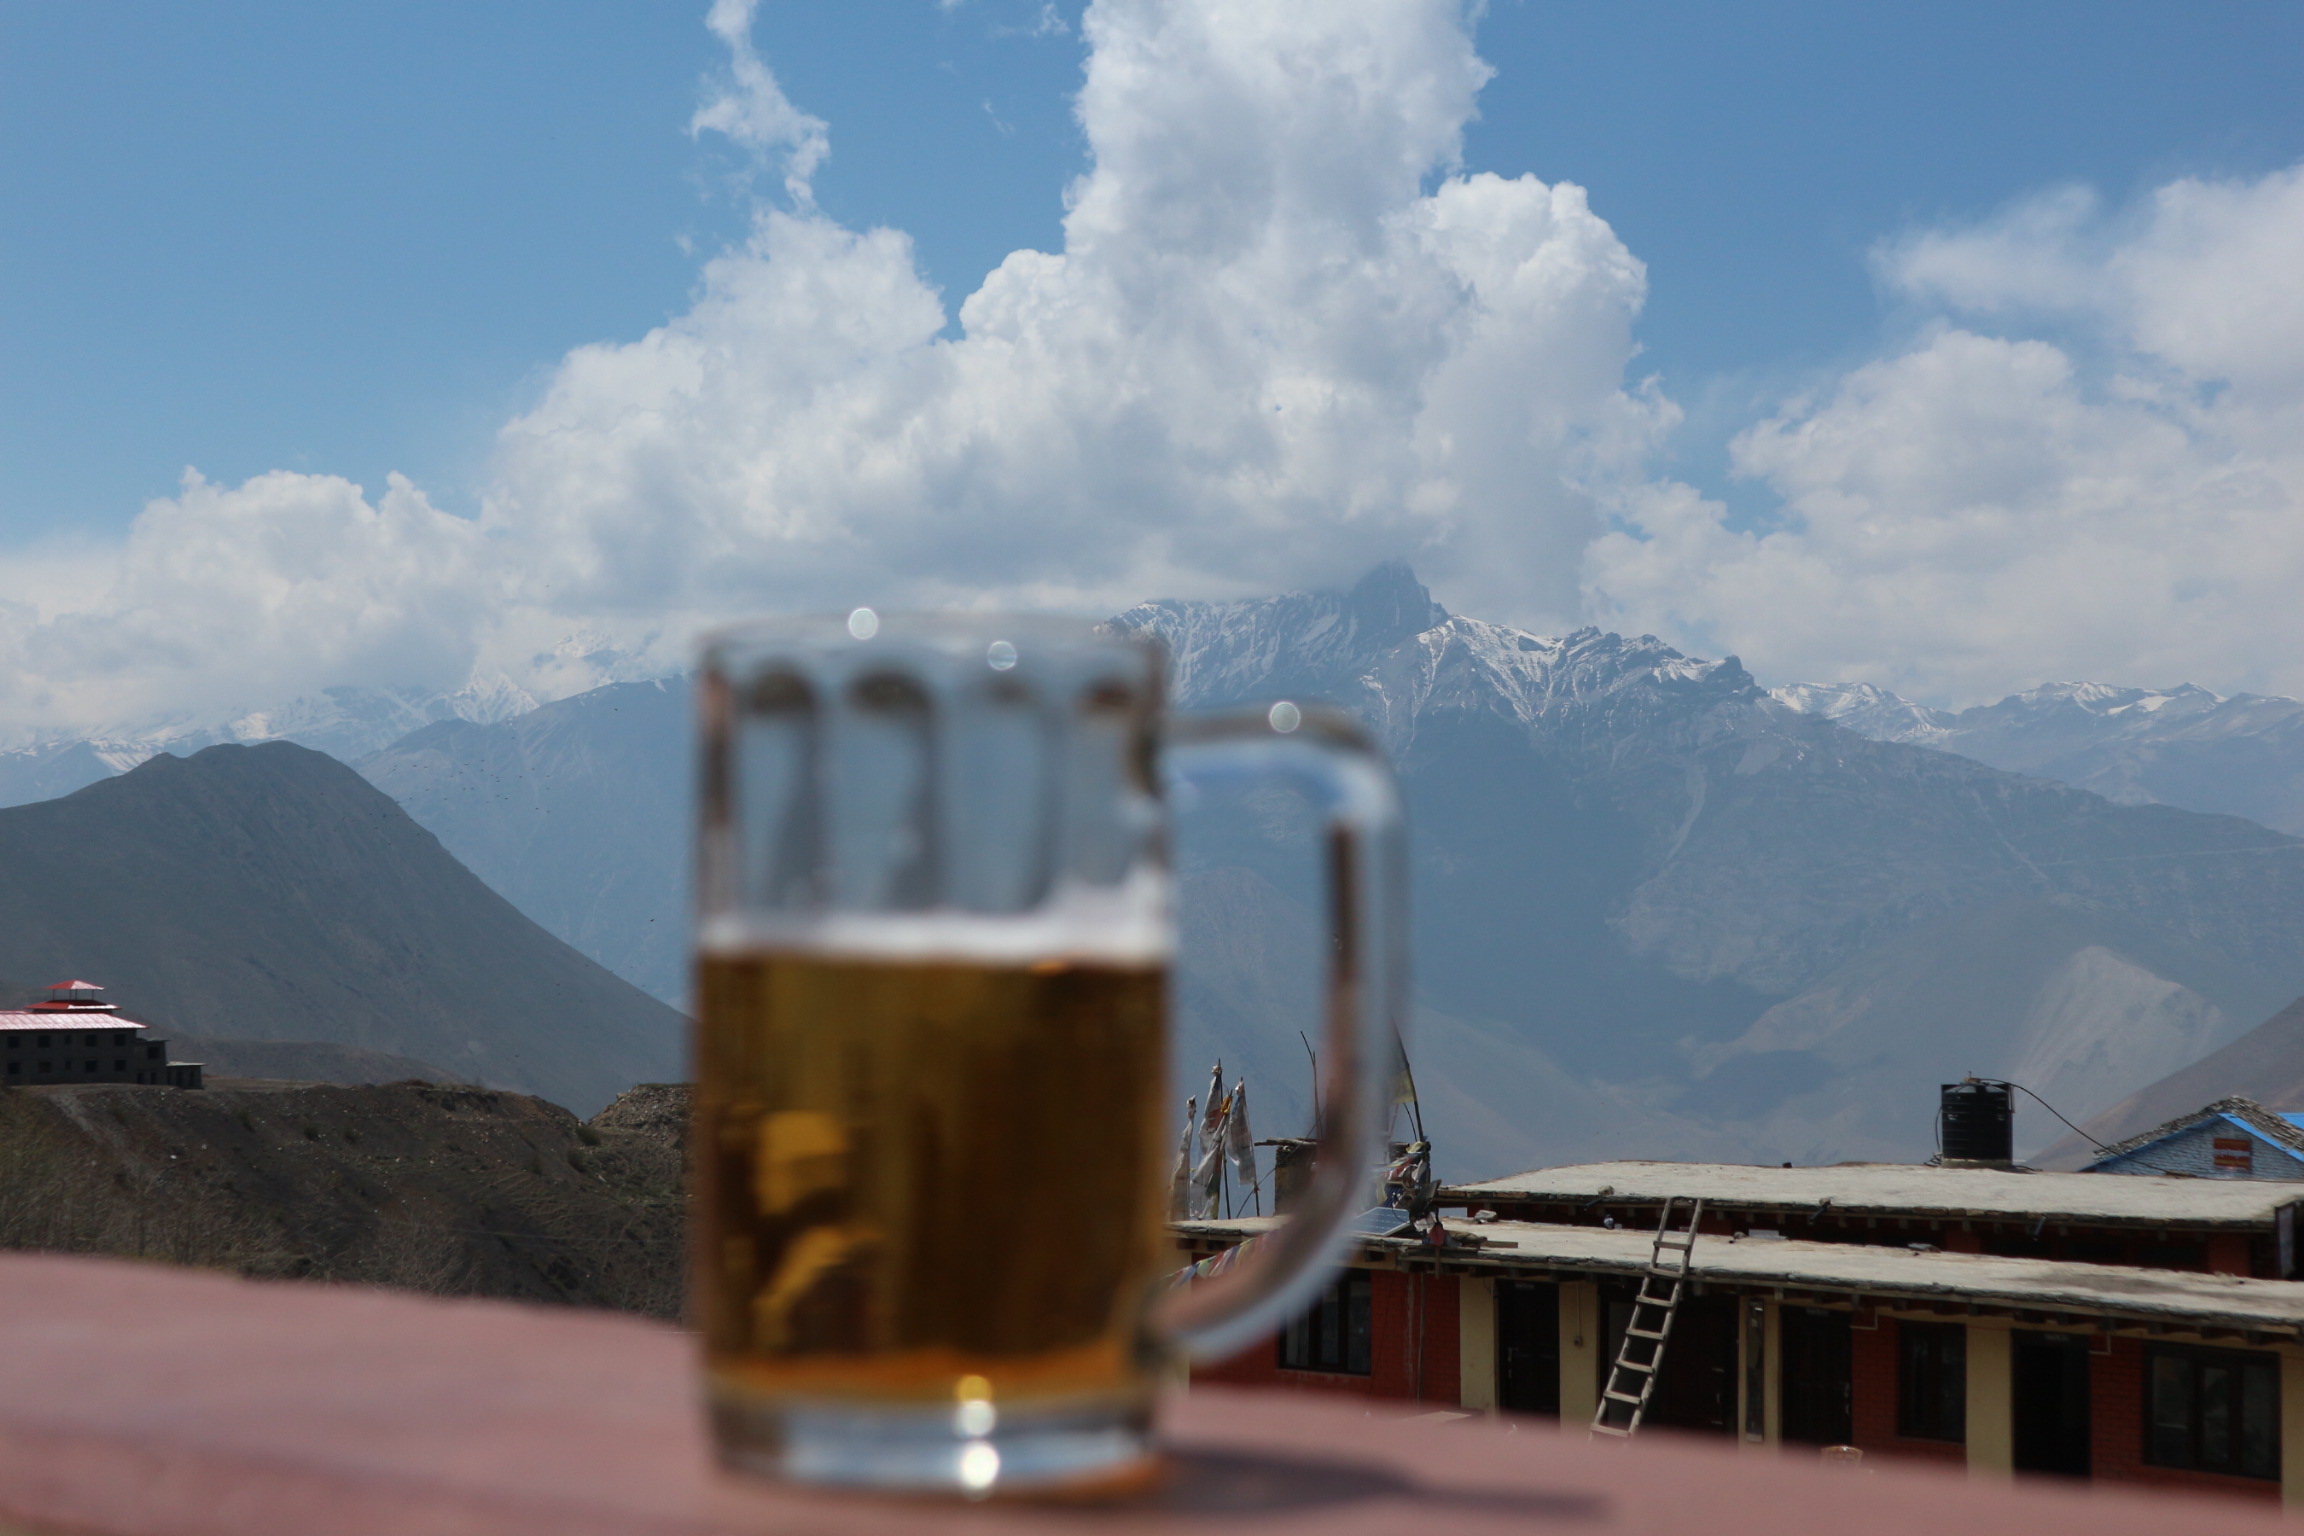
I spent $1500 on this trip including flight ticket, but I could have easily saved $200 or even $300 of them. If only I could resist buying all these presents or wasn’t tempted to drink beer occasionally:) Really, a bottle of beer costs around $5, which is pretty expensive although it is a bigger bottle (650ml) 🙂
The airplane ticket from Sofia to Kathmandu was around $530. The only other major expenses I had in Kathmandu. The total was $130 split into:
- 1 month visa – $40
- trekking permits – $40 ($20 TIMS and $20ACAP)
- Delux bus ticket to Besisahar – $11 (but you can take also a local bus for $6)
- I have also bought a SIM card with prepaid minutes and data for $16, had an airport transfer for another $8 and took a taxi to the bus station for $5.
- 1 night in a hostel – $7
During the next 18 days I spent $440, which is less than $25 per day for food, accommodation and tips. Then only 4 days in Pokhara and Kathmandu did cost another $400 but as I said more than half of them were some presents and souvenirs. The major expenses in the cities were:
- transportation – $20 (Bus from Pokhara to Kathmandu for $7,
- entry fees – $27 (Bakhtapur $15, Kathmandu Durbar Square $10, Swayambhunath $2)
- accommodation $40 ($10 per night on average)
Don’t forget…

- to pack your bag in advance and make sure you fit everything there and you can carry it 🙂 I had everything piled on my coach and it was not fun to try to fit it in my backpack on the very last night before my journey. Here is my packing list.
- that you would need to have cash with you. Besides the fee for the visa, everything else is to be paid in Nepalese rupees and you can use cards only in Pokhara and Kathmandu and even not in all shops and restaurants.
- to have passport photos with you . You need 2 for the trekking permits and you might use one more for the visa, if you decide to skip the queue for the machines.
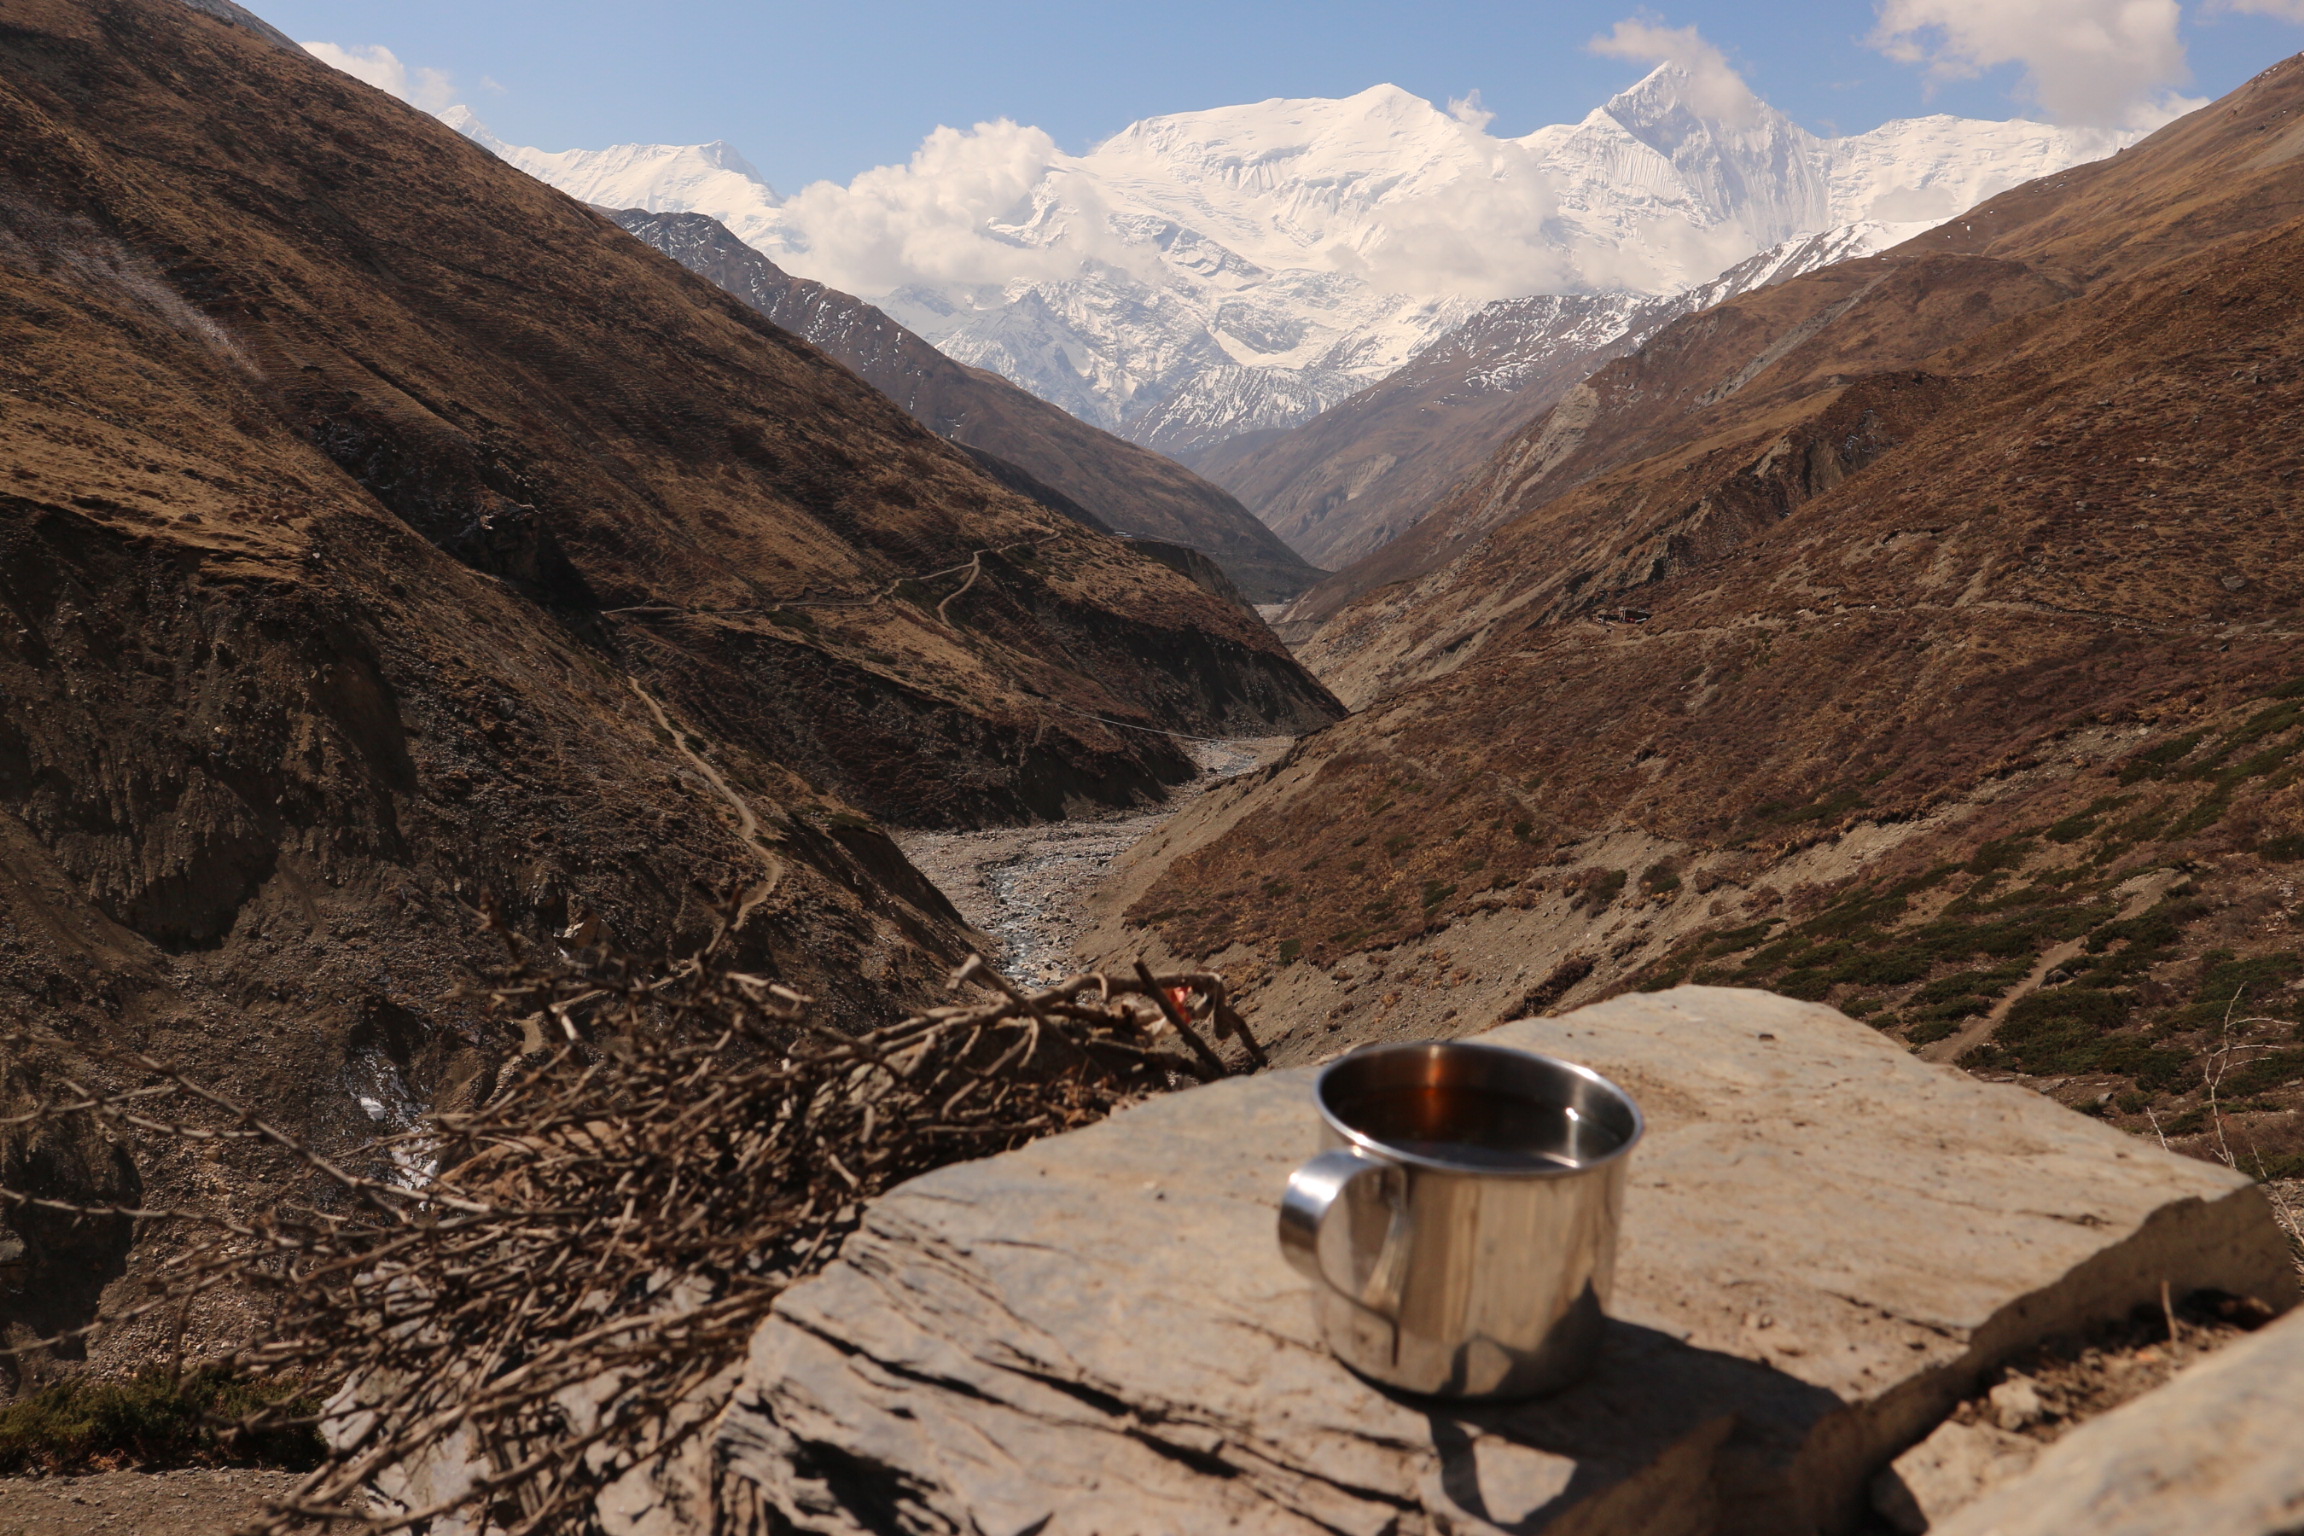
- that you would need to drink a lot of water during the trek. Walking with a heavy bag in the heat is not the only reason. Above 3,000 meters it is recommended to drink at least 3 liters or even 4 liters of water a day, in order to help your body acclimatize. I had many doubts when I needed to choose the source of „safe drinking“ water that I need to trust for this amount of water. Several travel guides and bloggers suggest sterilizing lamps such as Steripen, or using water purifying tablets. Others only trust bottled water, which is also a possible option as you can buy water everywhere in the route. Just the prize rises with the altitude and the remoteness of the location. I chose LifeStraw bottle, which filters the water right away. And I was very happy with that decision: no issues, good taste, no waiting time and no extra weight as I was able to refill on my way. I have bought an extra bottle of water only on 2 or 3 occasions and I don’t always needed them but just didn’t want to risk. The only drawback of this bottle that I experienced: it leaks so make sure to keep if vertical and better just clip it outside and have it handy.
- to choose a direct bus. Travel agencies sometimes try to convince you that it is better to take a tourist bus for part of the journey (for example instead of a direct bus to Besisahar) and then transfer to a local bus. Luckily, I was not convinced enough that this is a good idea and then I heard several stories of other trekkers, who where struggling with this kind of transfer and had wasted a lot of time in the end.
- that the weather is usually unstable in the afternoon. So it is always a good advise to start early (around o’clock) and plan to have arrived at your destination for the day in the early afternoon. It gets windy at noon and usuall starts raining after 2 or 3 p.m.
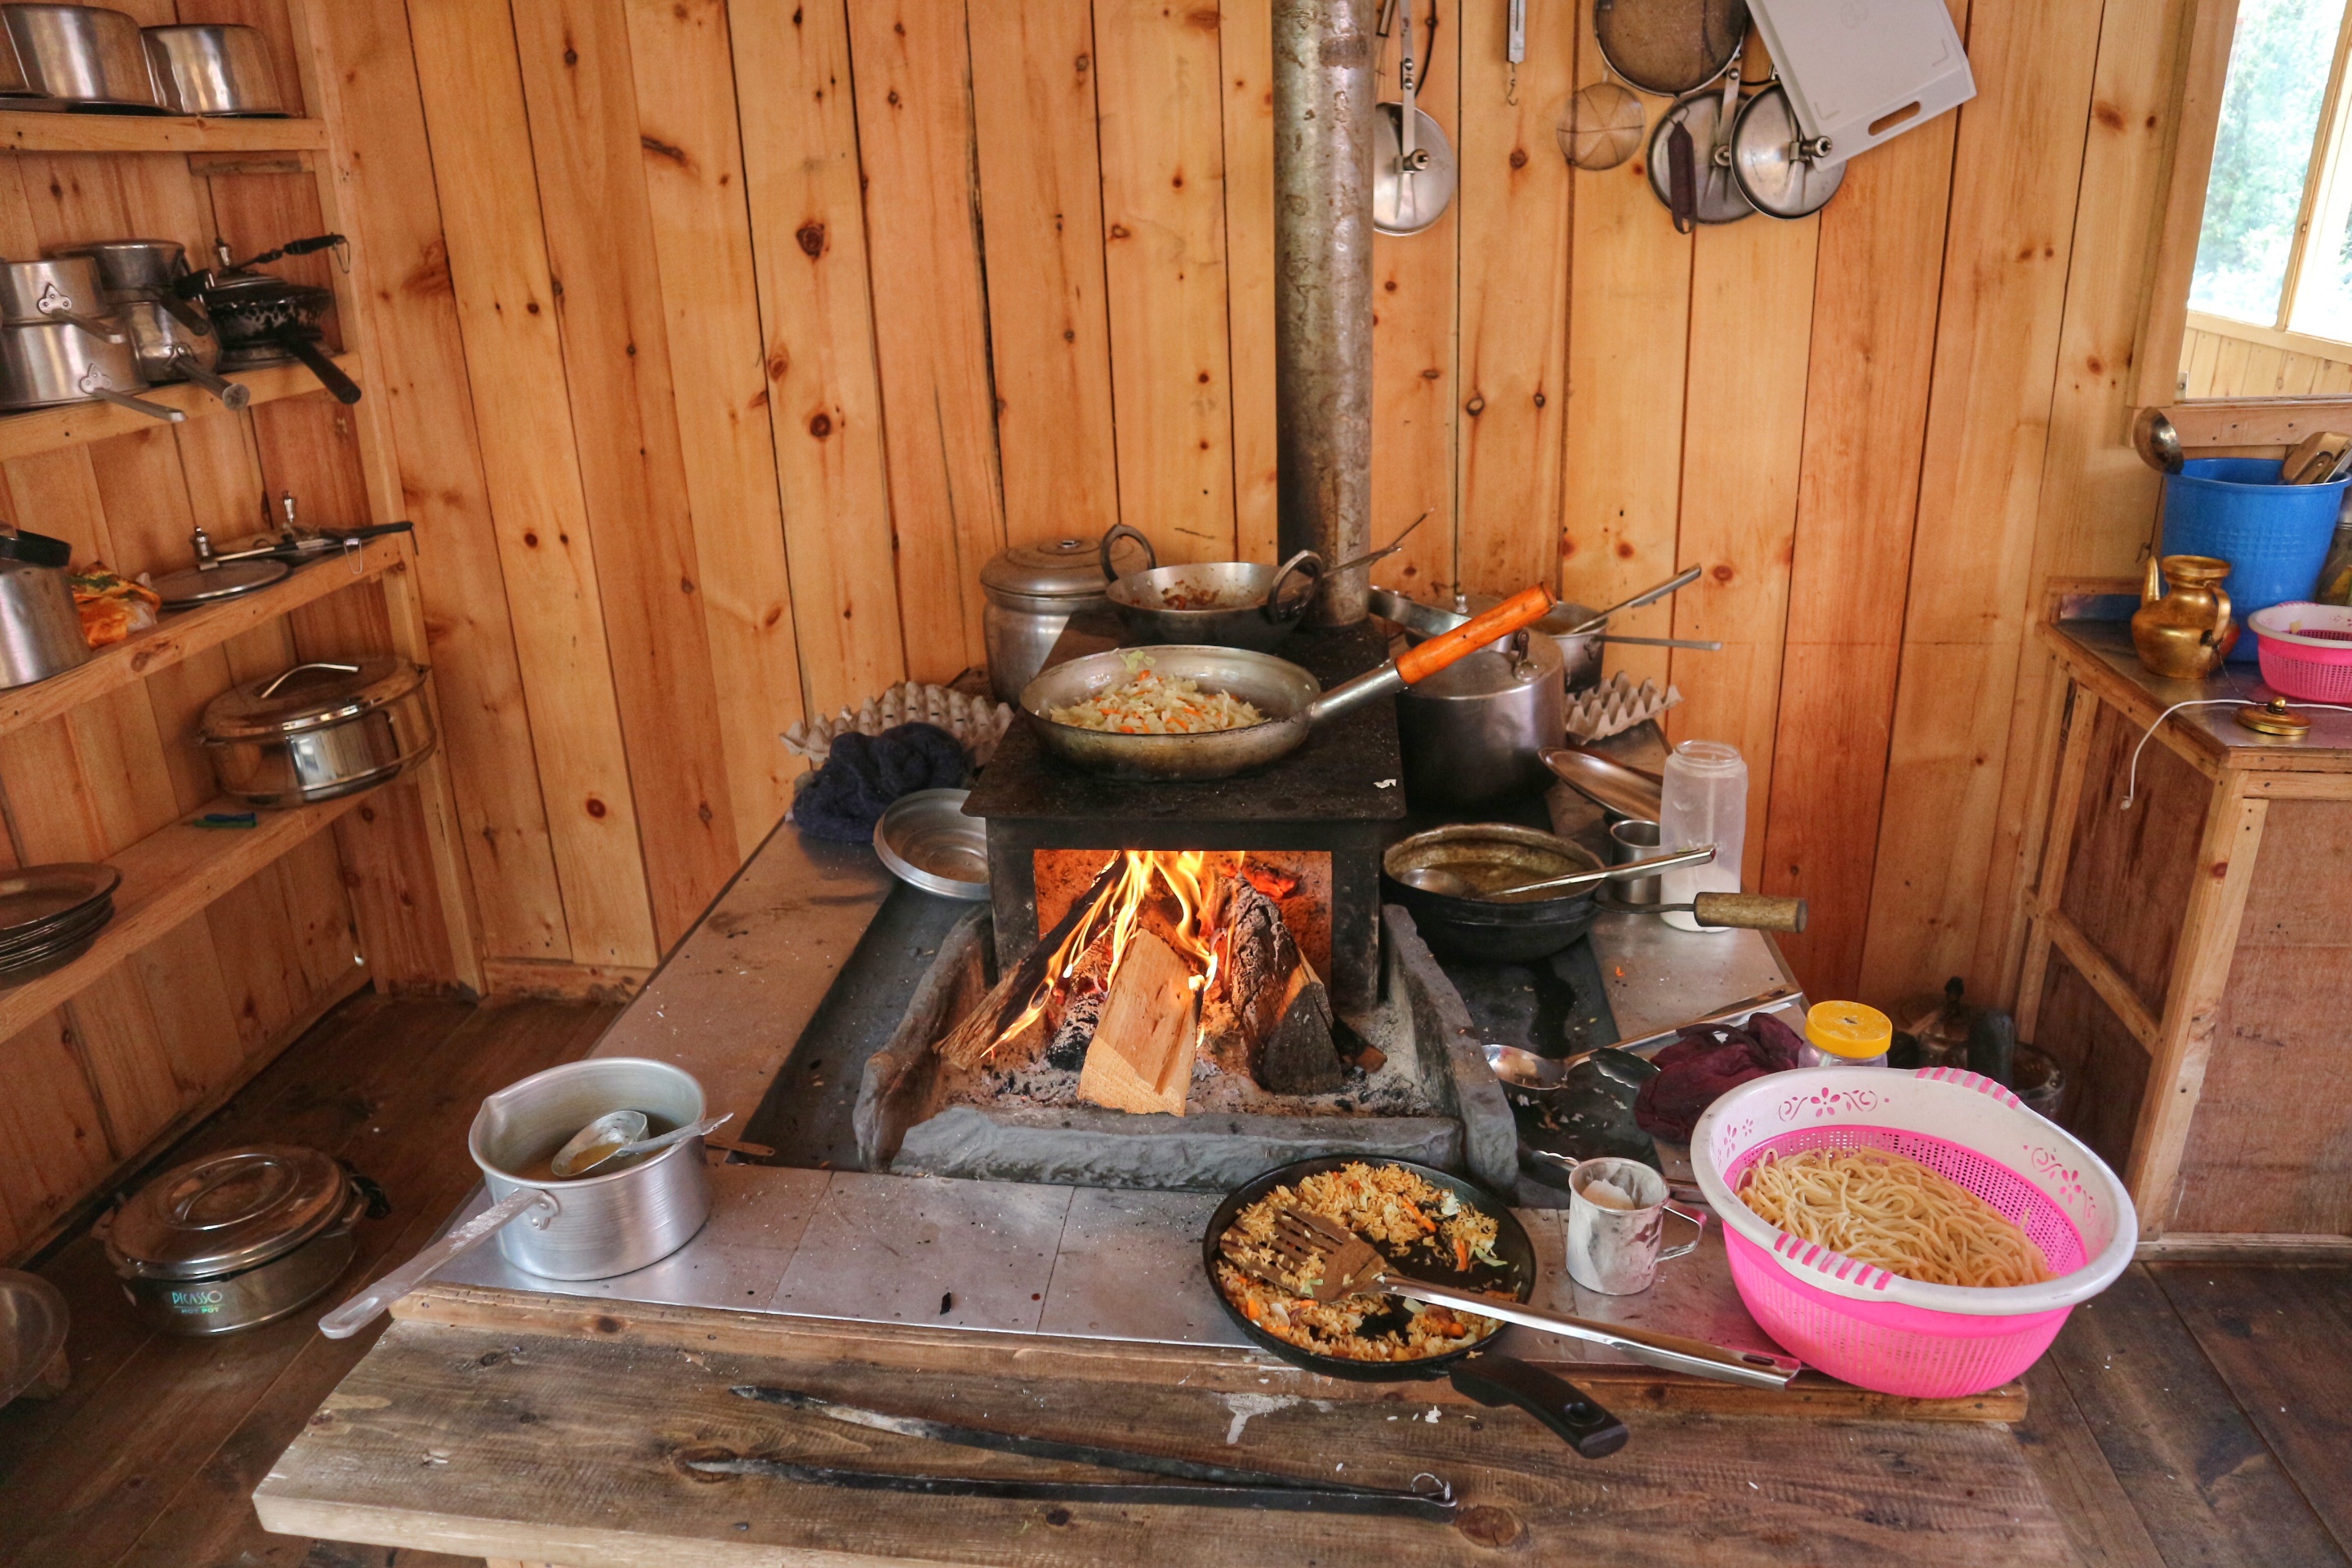
- that there is free refill of the Dal Bhat wherever you order it. This is a traditional meal from the region (India, Nepal, Bangladesh), which consist of boiled rice (bhat), cooked lentil (dal) and vegetable curry, and is usually served with a special fried bread (papad) and some spicy pickles.
- that children learn English fast and most of them know „Give me sweet“ If you find it hard to say No to little kids like me, better bring some chocolates or other sweets.
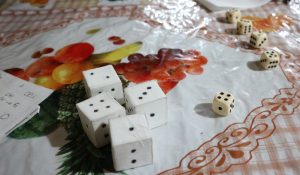
- to bring dice with you Yes, playing cards and other games are easy to find in the lodges, but you would need dice if you are a Yahtzee fan (or you might know it as Yam’s or Kniffel). It is great fun to play in a larger group and language diversity is not an obstacle. I managed to even learn counting in French thanks to my friends on the trek. So bring some dice because making them with paper and tape can be hard work although it was great fun 🙂
- that most of the journeys in your life you start on your own and it is very likely that you are alone in the end.
But what actually matters is what happens in between and who you will share that time with.
Thank you all for the great journey and hope to see you soon!